904 South Main Street
The history as I know it.
The house was built between 1886 & 1888 by John Poe. In the 1930’s-40’s the house was converted to a rooming house. Some time after the war the house returned to a single family residence.
Various families lived in the home continuously through sometime in the 1970’s. The house sat empty for a period of time. It was vacant long enough for someone to back a moving truck up to the house and steal 5 of the 11 fireplace mantels. the stain glass windows on the steps and 4 chandeliers.
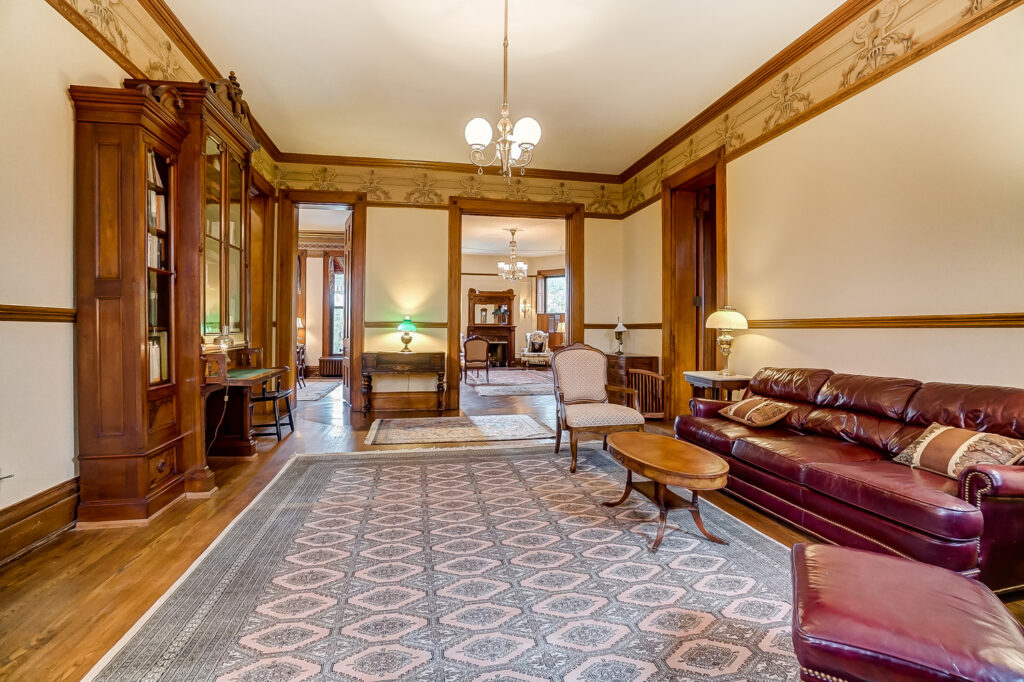
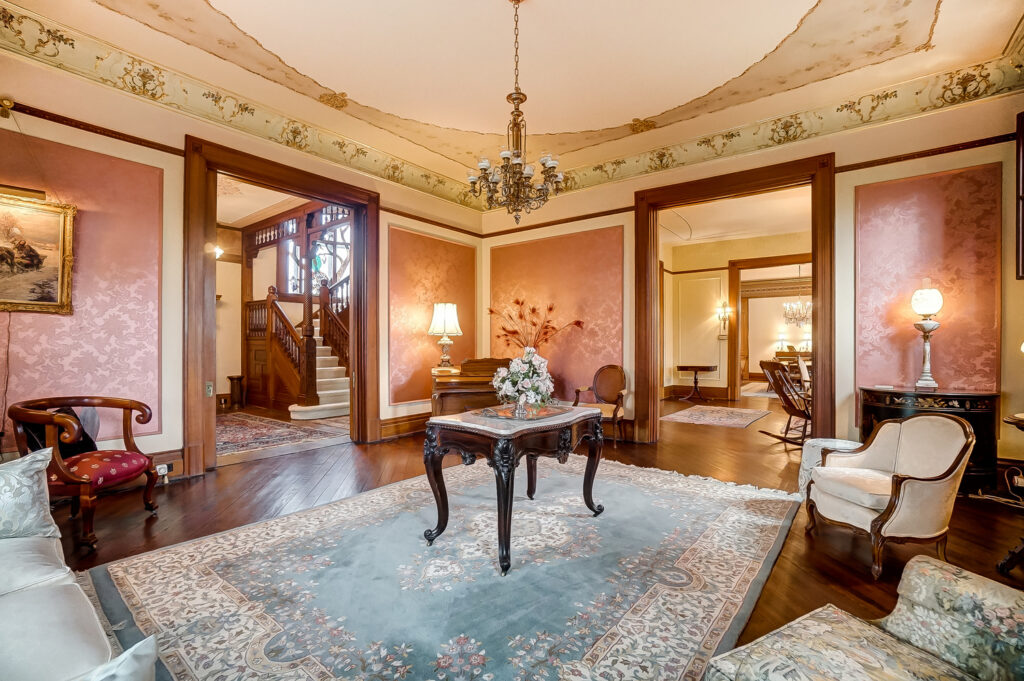
Each owner changed the house to suit their needs and style. Some owners modernized it; removing picture molding, painting over stencils, hang heavy grass wallpaper in the kitchen and dining room. Additional bathrooms where added. Other owners wanted bold colors and painted the walls such a dark color purple the that the violet ceiling looked white. It was not till we got two coats of off-white paint on the walls that we could even tell the ceiling was not white, but rather violet. The one important thing many of the owners did not do was home maintenance.
In the mid 1980’s when this house was purchased the bones where there but not much else. Still the bones were impressive. The brick walls, including interior subdividing walls, are all 3 courses of brick thick over stone sitting on bedrock.
Going Back to the Gilded Era
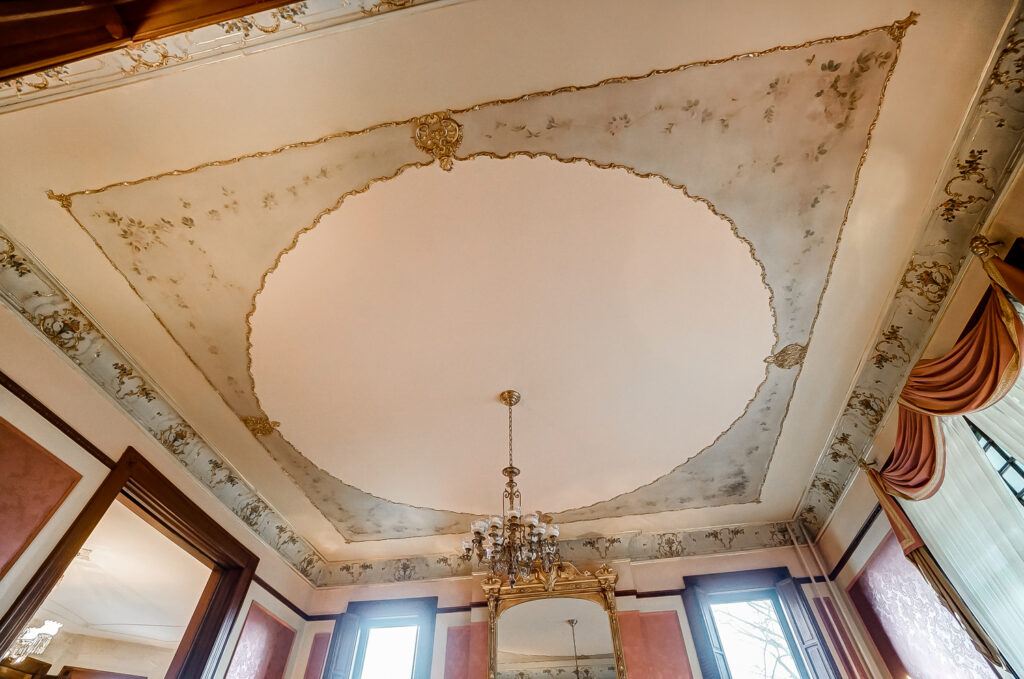
The center ceiling painting is original a few of the plaster appliqué where missing. The cove molding was painted one color, none of the gold leafing was still visible.
Replacement plaster appliqué. You can still get these pieces from Decorators Supply in Chicago, IL https://decoratorssupply.com/
Discovering Whats Missing
To find out what was originally on the walls halogen spot lights were held them right up against the walls and shined across the surfaces. It is hard to believe but there is no mistaking the small difference a couple of layers of paint make. Shining the light across the wall faces will show all the locations and sizes of old moldings.
Throughout the house there were picture moldings, some chair rails and some crown moldings. Samples of the moldings were found in the attic (Thanks to the previous owners. Even though they removed it, they at least kept some of it.).
We were able to match the moldings it to each room on the first floor by size and that each room on the first floor used a different wood. Butternut Walnut, Cherry, Oak, and Tiger Stripped Long Leaf Pine. The pine was upstairs in the kitchen.
We Can Match it!